If you’re looking for a premium alternative to Facebook for app install campaigns, I suggest to explore Google UAC (Universal App Campaigns). Your ads will be distributed on the Search, Display and Youtube networks.
Pro: it’s quite easy to set up. Con: it’s a blackbox, based on an in-house algorithm which you can’t easily fine tune. Let’s see how to create your Google UAC campaigns.
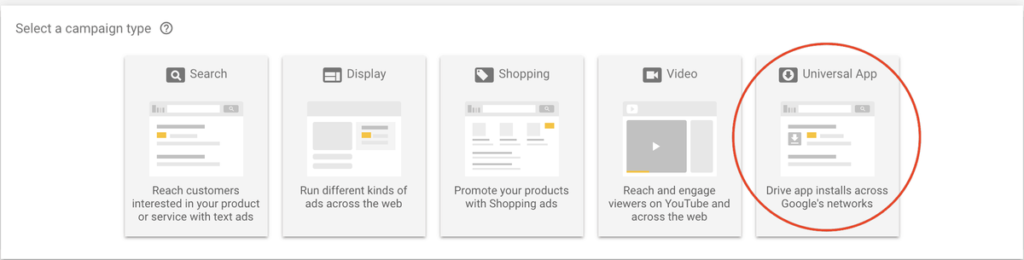
1° Select Universal App among the campaign types
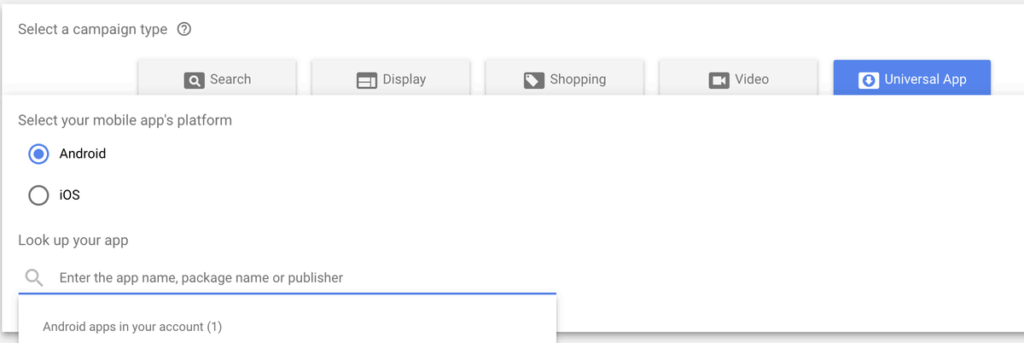
2° Choose the OS of the app you want to promote, select OR search for your app
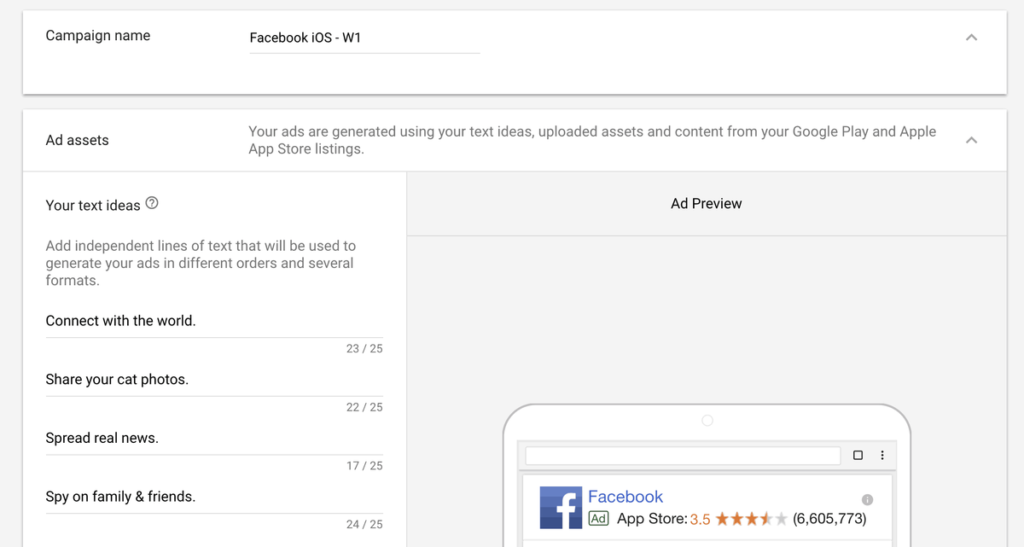
3° Name your campaign and write 4 short pieces of text which will be randomly used in ad creatives. Don’t forget a full stop (.) at the end of each snippet.
4° Add video URLs (from videos previously uploaded on Youtube, incl. portrait mode to get more reach on mobile) and up to 20 images (choose among the supported formats, see below). You can also add animated images (GIF) and HTML5 creatives.
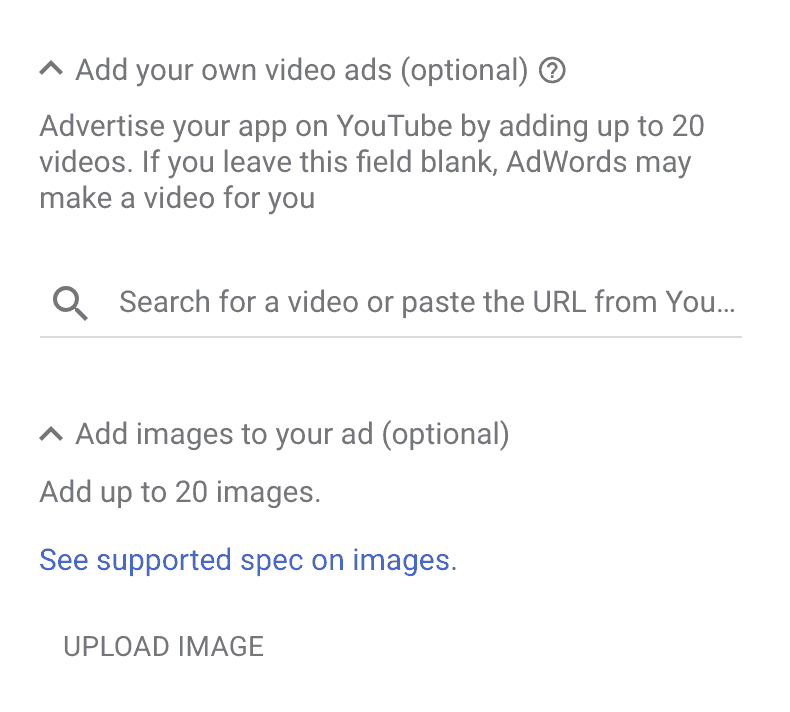
FYI, supported spec for non animated images:
File types
Formats GIF, JPG, PNG
Max. size 150 KB
Ad sizes
Square and rectangle
200 × 200 Small square
240 × 400 Vertical rectangle
250 × 250 Square
250 × 360 Triple widescreen
300 × 250 Inline rectangle
336 × 280 Large rectangle
580 × 400 Netboard
Skyscraper
120 × 600 Skyscraper
160 × 600 Wide skyscraper
300 × 600 Half-page ad
300 × 1050 Portrait
Leaderboard
468 × 60 Banner
728 × 90 Leaderboard
930 × 180 Top banner
970 × 90 Large leaderboard
970 × 250 Billboard
980 × 120 Panorama
Mobile
300 × 50 Mobile banner
320 × 50 Mobile banner
320 × 100 Large mobile banner
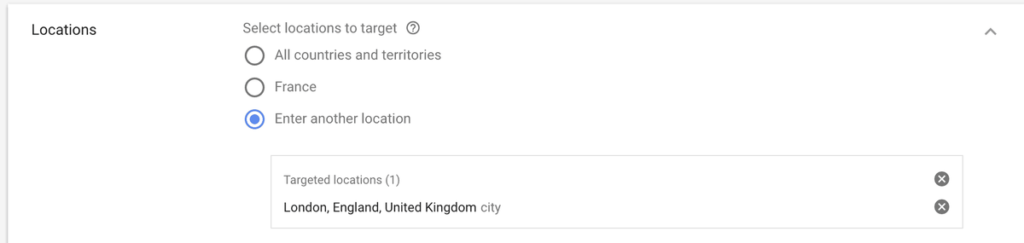
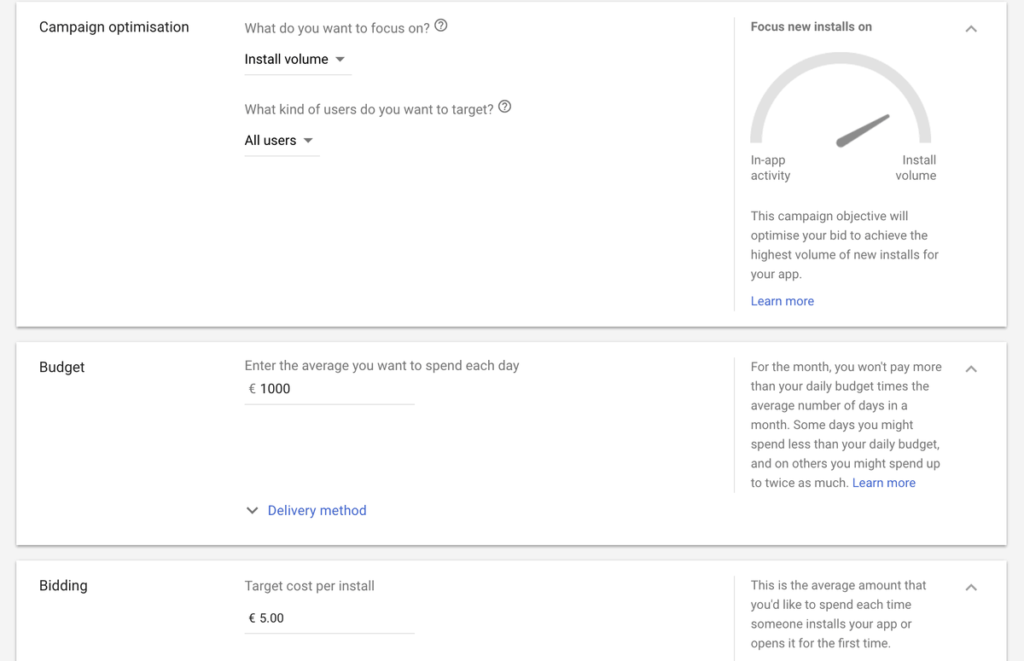
5° Choose your geo target, your users’ language(s), determine your daily budget and your bid per install (for a start leave the optimisation parameter on “install volume” / “all users”).
6° Save & you’re live! (Sorry Mark, I paused my campaign ;-))

NOTES:
If your app is available on both iOS and Android, you’ll start with 2 campaigns.
If you want more reach or if you want to increase your daily budget, you can adapt your budget settings by 20% each day. So tomorrow I could increase my daily budget to €1,200 and my €5 CPI to €6, etc. Start with a CPI high enough for the OS you’re targeting (iOS will always be more expensive than Android). If you’re aiming at distribution on Youtube, you’ll probably want to start with a €8 CPI.
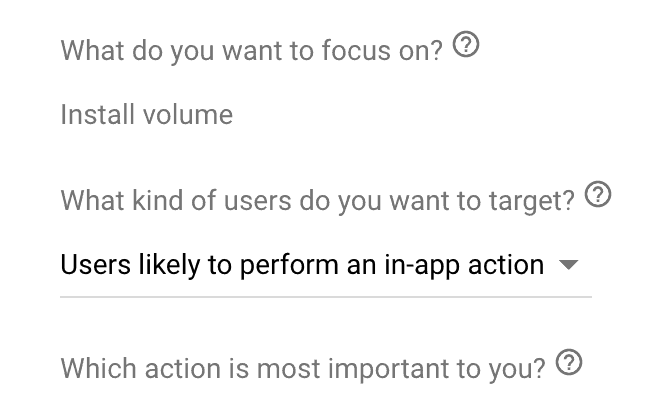
Once you get enough installs, you can add other conversion events to your account (via the measurement / conversions section in the settings), either via FireBase, seamlessly integrated with Google UAC (provided you’ve integrated their SDK in your app(s) and have declared the events you want to use in Google UAC) or via another third-party tool (I’m using Kochava). For third-party tools, you’ll need to create a Google partner on their platform and a campaign / tracker for the post-install event + set up a postback to Google Adwords (if you’re using Kochava, don’t hesitate to ping me via email for detailed tips). After adding other conversion events to your account, you’ll be able to amend your optimisation strategy, e.g. to optimise for sign ups or another event deeper in your conversion funnel.
If you want to see which ad assets are your best performers, head to AD ASSETS after clicking on CAMPAIGNS in the left column.

After a learning phase of a few days, you’ll see which assets perform outstandingly, well or bad.
To remove / change assets (text, videos or images), go to SETTINGS via the side bar (unfortunately you can’t deactivate creatives from the ad assets tab).
As I wrote on Medium a while ago, advertising management is all about gardening 😉
 Subscribe to my weekly newsletter packed with tips & tricks around AI, SEO, coding and smart automations